Showing posts with label D&D. Show all posts

Dungeons & Dragons Tomb of Annihilation Tomb and Traps set!


I'm delving more into formal reviews of my beloved Wizards of the Coast Dungeons & Dragons miniatures and products here on creative Dungeoneering, and wanted to start with a recent acquisition to the collection, the Tomb of Annihilation Tomb and Traps set.


Being a big fan of the original Advanced Dungeons & Dragons module S1, Tomb of Horrors, and having never delved into Tomb of Annihilation yet, this set by Wizards of the Coast held much more nostalgic value. But one thing I love in miniature form is terrain....lots and lots of terrain! From it's old-school gaming artwork to the famous "Demon Mouth" of Acererak's tomb, The Tomb of Horrors is an iconic Dungeon I have always dreamed of replicating on my own table. 

The box set can be purchased from various online and retail outlets, but we're fans of supporting the folks over at Miniature Market where this set can be purchased for $65 US. 
(https://www.miniaturemarket.com/wzk72873.html) 

The sculpts on the various pieces are surprisingly well done, and with a bit of time and just a small amount of extra work (if even needed) they could be brought up to an even greater level of detail. The sheer variety available for using these for various dungeons and tombs is hard to imagine, with everything from blade traps, spike pits, flame spouts, and even small rubble and gold piles to add flavor to any dungeon or table top terrain outside of this specific game. 


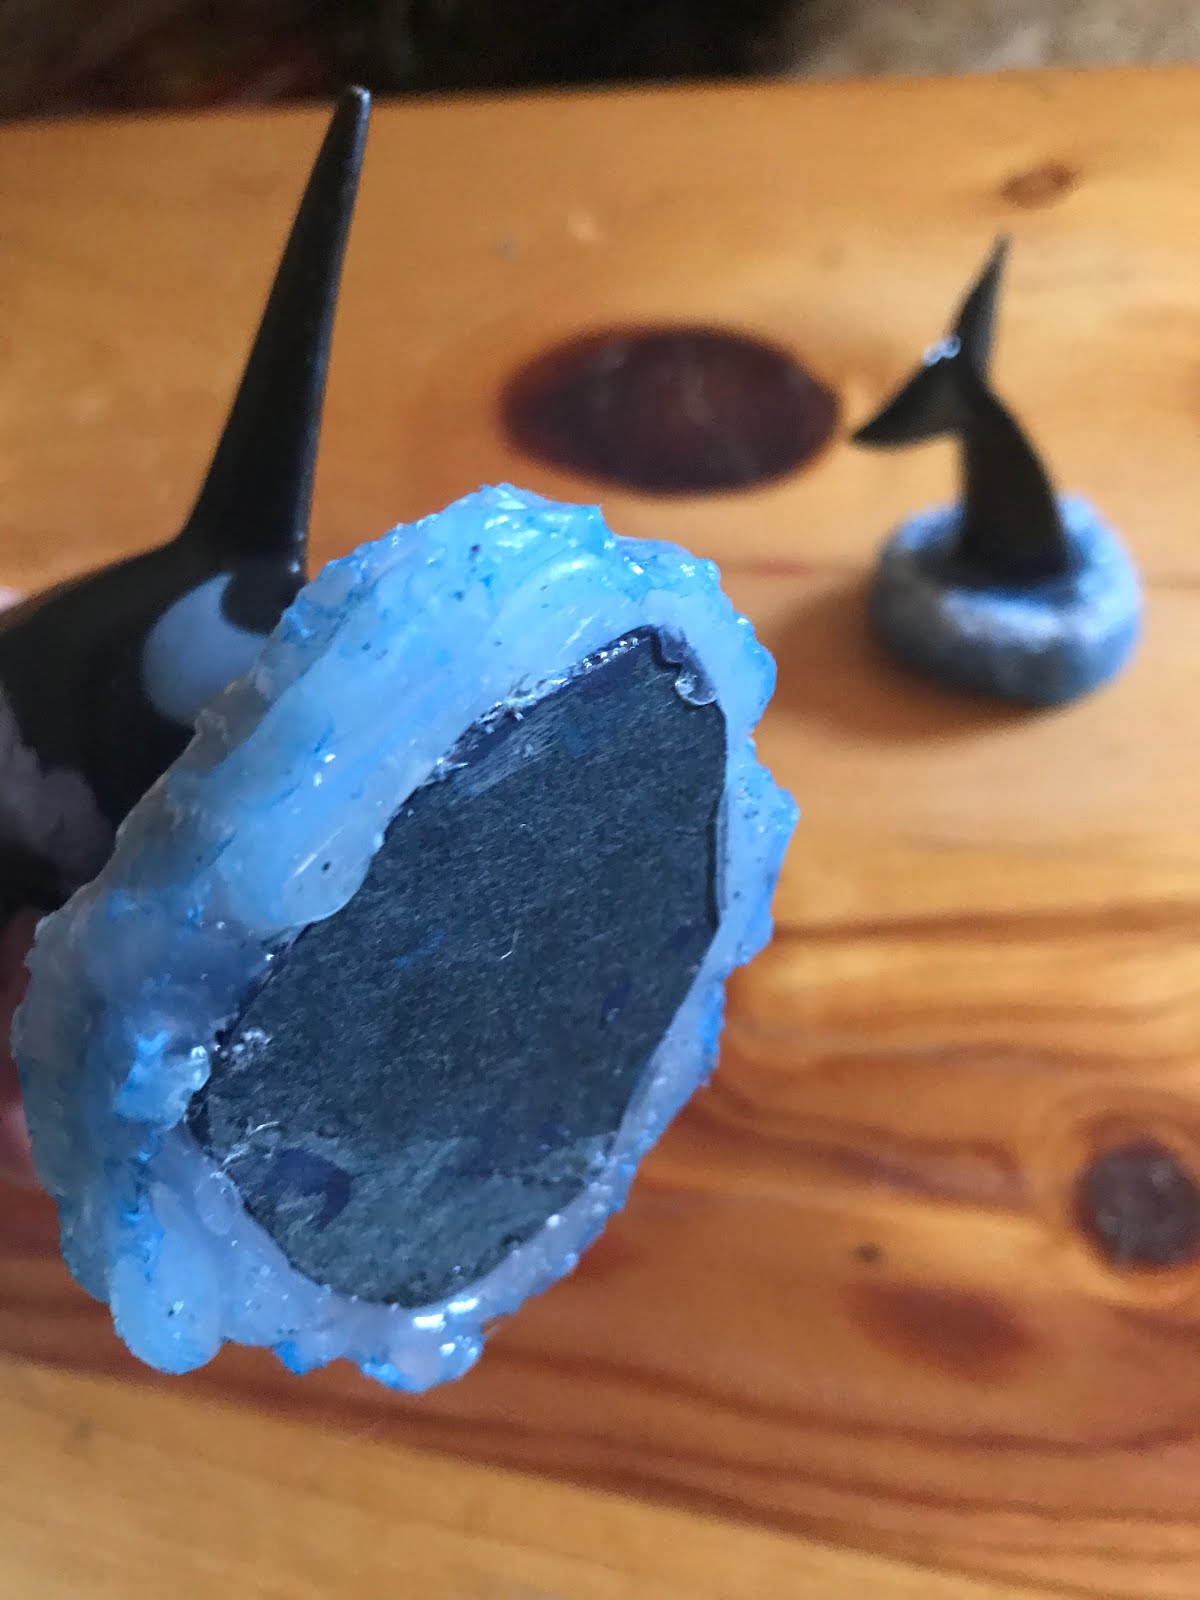
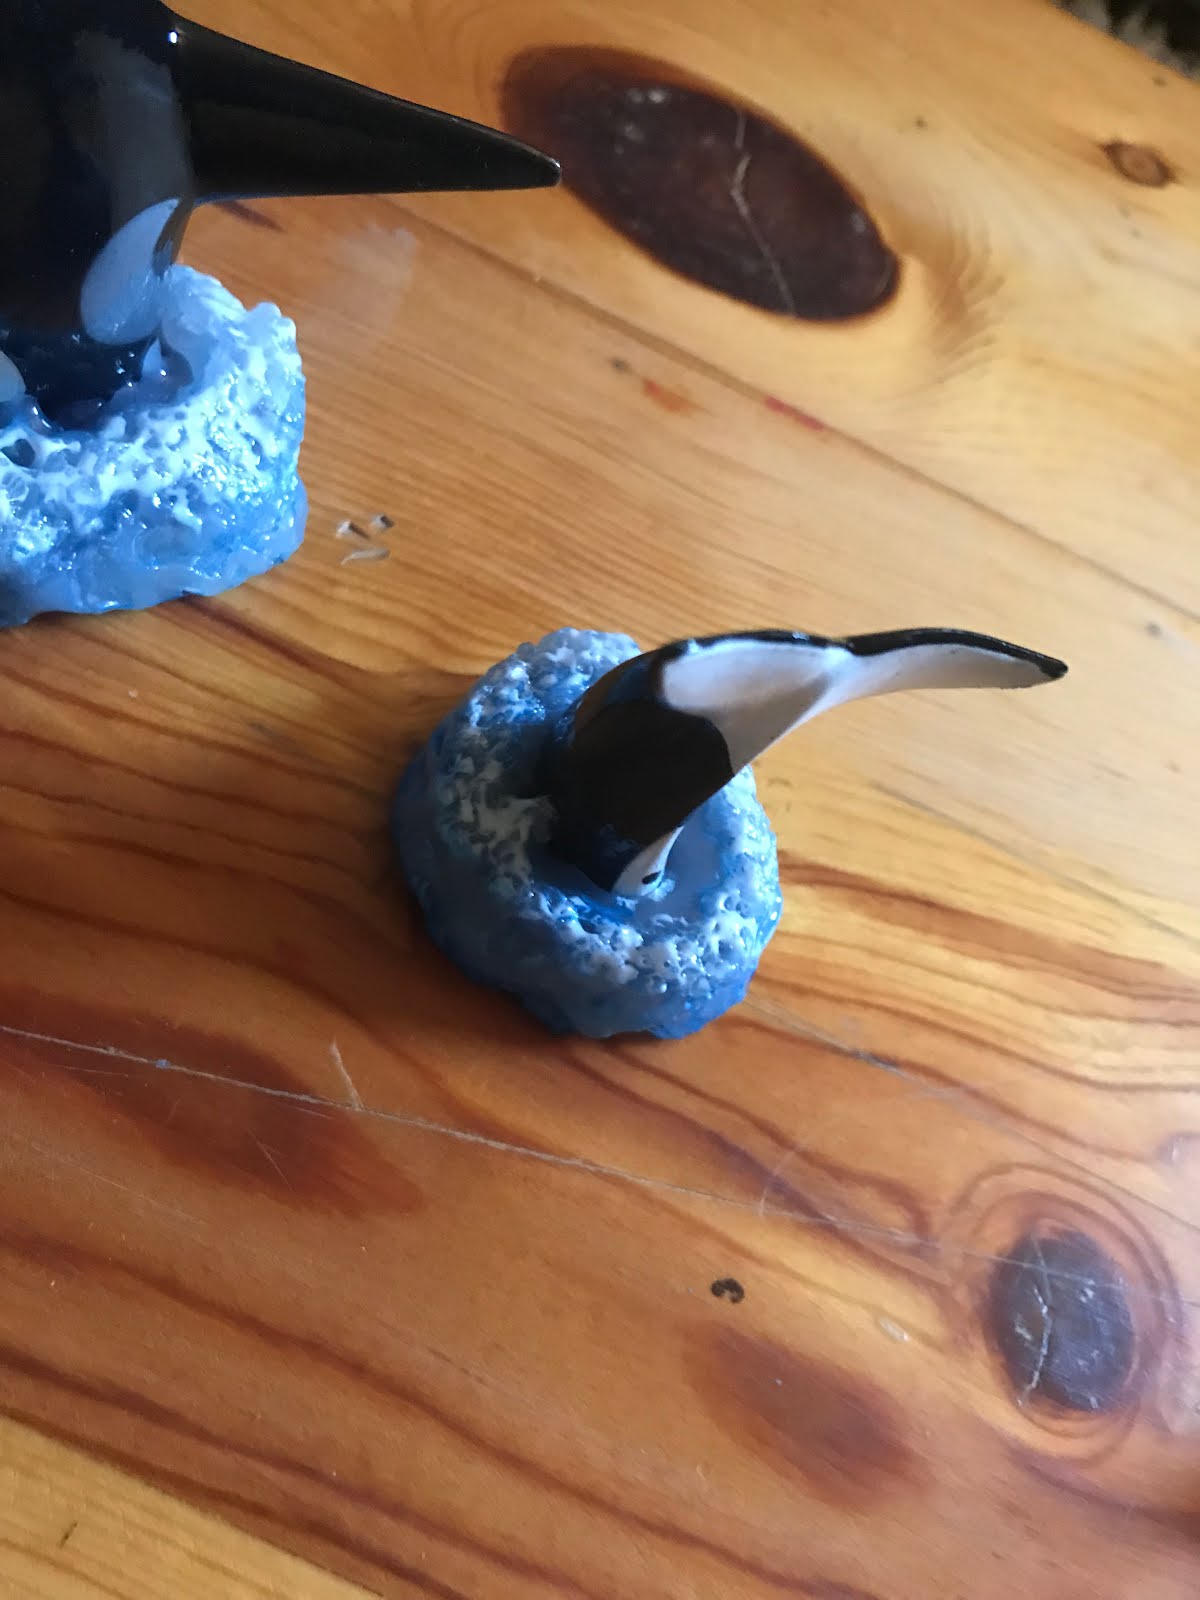
All the pieces are of a strong, well-made plastic poly carbonate finish with a strong durability. I was impressed by the seams and welds of the plastic on the little details too; things like the way the reflective surface of the portal is set into the frame of the doorway, the solid fixture of the flame spouts into the tile, and even the details and durability of the carved demon face. 

The crowning piece for me personally is of course the Demon mouth, set into a stone finished wall. the finish is good, albeit maybe just a tiny bit too shiny for being an old dusty tomb statue. This is the icon of the Tomb of Horrors, and without giving too much detail away, has created far too many TPK's (total party kills) throughout the history of this module! Great fun, and an icon of vintage dungeon crawl role-playing. 


The 4 flame spouts and 4 blade trap tiles are well made and will be great fun, to use in multiple dungeons and settings as well. Finish is good on both, but a bit glossy on the spikes/stalagmites/blades of the spike tiles. Seeing these in a dark, tomb-like setting however makes more sense, and I've grown to actually like the slightly black gloss finish. 
I'm thinking of double damage here: Spike trap with a slithering Black Pudding swirling about between....talk about total party kill...


The spike pit tile and boulder pile tile were somewhat less impressive, and in need of a bit of dry-brushing or additive coloring to bring out the highlights and depth. I love what Wizards has done with the "depth" on the spike pit, but the flat matte coloring makes it tough to see.

Highlighting these presents a plus and a minus however from a collection standpoint: To edge and paint would make them truly, better pieces, but takes away from their original out-of-thebox state...the clash between Creative Dungeoneer and Collector...


The sarcophagus of Acererak and the portal are both solid and well made, but like the spike pit, the  sarcophagus is somewhat lacking in detail, and could sue a nice brownish-black wash to bring out the edge highlights and side-hyroglyphics.


The other small details, and I do mean SMALL, are outstanding but it will take an extremely well-organized Dungeon Master to keep track of these items including the four potion bottles, the sword, shield, scrolls, and skull of Acererak.

The details and clever design for bringing the campaign to life are incredible, but even as organized and meticulous as I am over my D&D mini collection, I worry about losing these before they get any tabletop time.


All in all this is an outstanding set by Wizards of the Coast, and brings to life both vintage-styled nostalgia and modular usability for great dungeon terrain!
This will surely be featured in some of creative Dungeoneerings upcoming Game Tales.


THE CRATER PLAIN BATTLE BOARD!

Deep within the bowels of the Creative Dungeoneering catacombs, in the icy depths of the lost north & away from the prying eyes of other terrain creators, gamers, and adventuring parties, the Polar Bear horde crafts away with foam and glue and paint to create the next generation in modular terrain...the Creative Dungeoneering Crater Plain Battle Board!

While similar in design (and construction) to our previously designed modular gaming battle board, the Crater Plain version we created here is quite a bit larger.
A larger board is not necessarily always a better board however. And often times it can present too much terrain and distance between armies for initial set-up.

When being used for war-game play (such as in Warhammer 40K), timing can be slow, and take hours for rounds to complete. This is less of an issue when being utilized for role-playing terrain, and serves well for adding large scale modular additions such as mountains, cavern accents, and hills and mounds.

The goal of the Crater Plains board is to provide a few notable and useable features for Sci-fi table top wargaming or role-playing, or serve as a basis for additional role-playing/fantasy use. But it's crucial feature its both its size and its emptiness, or its lack of features!
Space-as in empty space, left bare, flat, or without additional features serves well to a dd additional features on top of, so this board needed an ample amount of surface area from which to build future expansions, thus ensuring it was truly modular. 


The main features of the base of the board other than the stone textured finish are it's 4 main craters.
I started this board in our standard secret black foam core (1/4" thick paper-backed foam core or 'gator board' often used in the advertising and design industry) and carved the craters into the foam but not through the paper on the underside.

After this was completed, lightly sanded and smoothed out, the entire board was coated in two full cans, evenly and SLOWLY sprayed over the entire surface, using Krylon brand Stone texture paint in Coarse Texture Black Granite. The 'Black Granite' is really more of a gray and white speckle, but works well given the foam core itself is black. But for a board of this size it did in fact take two full cans-not the cheapest method, but the best long-term.

The key with texture paint is two factors: Warmth and Wind. Try to use it in a warm (or room temperature) location if possible, not outside in the cold. And NOT in wind. Any! Not even a slight breeze. This means indoor use is the best but the smell of this can be quite pungent, so just the right conditions for a space this big is crucial.

Once sprayed and dry, the small-detail edge painting began. And this is where Fantasy Geology comes in.

Because I wanted the craters to look real and like they had some actual purposeful growth or algae forming from within, I paid close attention to the cracks and crevices on which paint was applied. Only placing small dabs of dry-brushed toxic green over raised surfaces like a growing alien or deep cavern mold of some unknown variety.

For the purplish hue on the edges, this was applied using a dry brush technique of dabbing an old brush lightly into a deep purple acrylic craft paint, removing excess on the pallet, and then in a swift dabbing, semi-rough maneuver, allowing just a tiny bit of paint to settle into the stone surface texture along raised edges of the craters and where cracks formed onto the surface.

This gives the look  of an alien growth or crystalized algae of some form creeping over the lip of the crater and through the small cracks to the surface. For final preparation I may be adding a dab of gloss varnish to these areas to give the looks of natural crystals, but keeping this board minimal in its design, allows for multiple uses and potential areas and genres it could be used.


NEXT:
Finishing the board, sealing, and final touches......
Now, back to the icy depths of the great northern catacombs, where the Polar Bear army is getting restless. Great gaming terrain is only as good as the adventures that take place upon their surfaces.....


Sci-Fi Terrain..Part 2!

The priming continued this weekend with the completion of a whole gaggle of Sci-Fi Terrain.
Finished painted pieces may appear at a  later date, but primarily for now this will detail individual ideas and inspiration for construction.

The names are completely arbitrary of course, but I tend to go for a slightly less "doom and gloom" view of the Warhammer world. Think more "Warhammer meets Star Wars" so much like the lines and accessories here, I try to allow the terrain to take on a slightly more clean look too.

The key in sharing these is the potential in their visual identity:
Find items that look like they have a purpose in the Universe for which you are creating-regardless if your entirely sure what they are or even how they work.

These are just brief tutorials on what went into the make-up of these pieces, but further posts will (hopefully) follow as these pieces have all been sent out for some volunteer custom paint work by contributing Dungeoneer artists who will be contributing to the Creative Dungeoneering realm with their talents. More on their progress to come...

Moisture Evaperator


This was assembled with standard white pva glue, and comprised of a bar-end cap from a set of roof top Yakima brand bike rack bars, the stub of a space marine torso from an old Rhino tank, two white plastic coffee straws, and a few random plastic bits torn from an old circuit board (see last post on Sci-Fi terrain).
The real key here was the varying level of the straws serving as 'antenna' that give the piece a functional look. The small coil on the side is actually a roll of copper wire from the circuit board, so this should add a nice touch of realistic metal once completed.

Planetary Beacons


Beacons, industrial tubing, old spacecraft parts...whatever your imagination comes up with. But when you prime sprinkler parts, and what I think was some form of 'juicer piece' the results are something right out of the 41st millennium.

The beacon to the left was made with a sprinkler part from a local hardware store glued atop a small led tea light. Tinfoil was placed inside to reflect the light and give it a slight flickering glow like fire.

This bottom piece is some previously saved and currently un-remembered piece of unknown plastic, but with one odd catch: It's either REALLY expensive, or...not.
the ring around the spires is the metal watch face lock ring to a TAG Heuer watch. yes, THAT TAG Heuer. But since I purchased this off the street in Jakarta Indonesia from some shoeless kid on a broken down scooter, I can't say if it's real or not.
I can say that when I took it to a jeweler a while back they wanted to charge me $75 for the battery, so rather than divulge that I paid 41,253.00 (Indonesian Rupiah, so like $3 US), I kept it. Does that mean it's real? Who knows.
After he got my three bills he was off on his "previously claimed to be broken" scooter faster than lightning. Good story...mediocre watch. But it makes great war game terrain!


Fueling Spires/Landing Beacons/Parts Piles


These are similar to the Planetary Beacon above in that I have no idea where they came from, but they made excellent terrain. Parts for the stockpiles of materials being waited for transport are random bits from the electrical motherboard I pulled small "greebles" from previously. The cones and base are odd plastic affairs with no remembered identity.

Command Bunker


This is constructed from a cardboard tube cut in half and fixed with wires and a small Warhammer tank hatch from a previously unused section of Rhino.
The base to which this is fixed is a thick foam-core used in advertising signage, but any reinforced cardboard or foam core will work. The advantage of the foam base is the ability to not only "sink" accents into the ground, but also to give the ground a surface of it's own.
The tanks to the right of the entrance is actually a small cell battery, primed and inverted.
For the door accents I used a small plastic square piece that accompanies bicycles upon purchase to hold the cassette into place. Most bike shops will discard these when building bikes, or likely give them away for free, as they are unlikely to associate much use for them in the role-playing or creative gaming world. It's rare that these two realms ever mix...

Ruined Tower
The other half of the cardboard tube that was used for the Command Bunker above was utilized to make  ruined tower and the small guard walls.
Additional metal greebles and electrical parts were stacked on top of a foam core base along with various small parts and random bits to give the look of a dilapidated and crumbling tower.

Notice here how primer was laid on extra thick.


This was done on purpose to allow the paint to seep in and cover the metal. It needed to be thick to cover the visibility of the pieces being modern (or mundane), but it would also allow for some variance as this will primarily be dirt, dust, rubble, and old foliage.
Additionally, those gaps where the paint is at its thickest will be filled in with pieces from the Citadel Skulls collection - highly recommended for a adding some dark battlefield doom to your terrain.

Where the Whales Go To Die! Part 2!!!


So I originally wrote about a project a while back that I started titled Where the Whales Go To Die, based off one of my favorite movies, The Island at the Top of the World. (http://creativedungeoneering.blogspot.com/2016/03/where-whales-go-to-die.html)

This was a fantastic movie done by Disney back in 1974 with a lot of advanced special effects for it's time, but it really captured a love for all things "arctic" and especially, for classic adventure, travel, mountaineering, and even Vikings and 'Killer' whales.
I never did a follow-up to this project though to show the finished product, which I think turned out not half-bad!

I started with a toy Orca, and wanting to give the illusion of it coming out of the water, cut it in half. I created the base with a thick card-stock base and a platform of sculpted hot glue. This is done by allowing the applied hot glue to cool just slightly while sculpting the glue into the shaping desired.

After I started to get the base shaped right, I sunk the Orca's top half into the base, and continued to apply. This next crucial step is what really creates the sense of 'frothing foam.'
Wanting to replicate the scene from Island at the Top of the world where the Orca's that guard "The Place where the Whales go to die" is covered with an icy foam and misty cold arctic water, I added a dab of Gorilla glue to the still warm hot glue.
The chemical reaction between these two creates a beautiful (if not slightly over-abundant and out-of-control if not watched!) foam. This created a textured foaming circle of splash around the base of the whale as it crests out of the water, just as in the attacking scene from the film.


Loving these beautiful creatures I feel it imperative to emphasize here that these are designed for fictional table-top roleplaying of course, and that there are no recorded attacks of Orca's guarding "the Place where Whales go to Die" (that I am aware of).


(See a brief sample of it from the original film here:
https://www.youtube.com/watch?v=bh lOekZYMk-


Following the same technique for the fluke, allowed me to both create either a ridiculously large single whale (unlikely) or two whales that could technically be used for an ocean-based encounter simultaneously.

A similar base structure, and frothing technique was used allowing two natural encounters to be created from one single miniature.


Creating the underside of the whale was a bit more tricky as I wanted them to look natural (no "made in China" lettering" and yet scarred up and aged, like ancient creatures of legend. Matching the coloring of the white was tough, but adding a "gloss" look of being 'wet' was even tougher without the plastic looking too shiny.


All in all one of my favorite custom-made pieces. This has yet to eb entered into a contest as many of my other Creative Dungeoneering pieces have, but will likely be competing in a custom-made category this year at the SaltCon gaming convention:

http://saltcon.com


Stonework Steeps!


I know I know....."modular modular modular."
I preach that all the time.

But the versatility, storability, mobility, and playability of modular pieces is just SO much fun, and they are a constant challenge to create.
Plus, when your imagination varies from a love of all things D&D to the carnage of Warhammer 40K, having pieces that can work for both saves a bit in the "Gaming Terrain Finance" department too.

So this weeks project was creating a sense of muddler stone columns, but made to look like natural rock. I wanted these to be able to be used in various forms of terrain. anything from mountain to forest to underground cavern settings (although the end result, while nice, does slightly limit  the potential use (in my own opinion) to underground cavern settings).

I started with my standard building material, hardened, paper-backed foam core or gator board (see the previous Creative Dungeoneering post on the Battle board made from this here:
http://creativedungeoneering.blogspot.com/2018/01/battle-board.html)

I shaped these with a thick and rough pair of scissors and then smoothed the edges with a soft sanding block, before gluing them together in equal-sized stacks with standard pva glue.

Once done, I added layers of paint over the black foam core and paper backing in the following order:

  • Primer gray-standard gray primer spray
  • light gunmetal gray: any med-to dark shade of stone gray would work (or red, brown, etc).
  • soft gray: I used a softer, almost white gray here, dry brushed over the top to create edge highlights and give the stone a worn texture. The same would apply here though for other shades of red, browns and whites.  
Once the stone work was completed I added a thin layer of pva glue to the top, and created a flocked top layer using standard flocking materials. Green hobby store grass material (think train building sets or model diorama terrain) works well, but I also use a mature of old pencil shavings, pva glue, and a light dab of green food coloring and paint and mix until dry. This gives some texture and depth too (more on this in the next post on Aspen trees and natural terrain).


Simple. Pretty fast, and these were made almost entirely in an evening-about 2 hours +/-. 
Effective for use in wargaming or table-top roleplaying as added terrain features, archways, gateways, columns, pillars, or even over-water type features.

There are a ton fo add-ons that could be done to these too:
  • Stalagmites/stalactites from some fo the small overhanging rock edges, then done in purple (Underdark or crystal-type) hues or even painted with snow flocking to represent ice or winter terrain. 
  • Extra foliage or moss on the edges
  • Water-spray, or bases of hot glue and water-type features giving them the look of being suspended in or above water. 

Just great simple little pieces with a lot of creative potential. 


As for cave terrain, I intended originally to make these modular to where they could be used for an Underdark campaign as well. But I am a huge fan of the more purple-gray hues that are found in the Wizards of the Coast and Gale-Force 9 Caverns of the Underdark sets that I currently use and match terrain too (see some of the previous Creative Dungeoneering posts on these in our archives...) so it was tough to justify the purple hues needed with the green flocking. 
As much as I love modular terrain, I love making it match even more. Thus, these are primarily for "above-ground" use. 


Multi-game modular Battle Board!!!


As I've written about many times before here on Creative Dungeoneering, I'm a big fan of modular Dungeon Terrain and wargaming boards.

I like the versatility, and for my small and not-often-used-enough gaming space, the storability of it.
But with my love of a bit of Warhammer 40K, and a growing Black Templar army, I am finding need to have a more adequately sized battle board for weekend skirmishes with the despicable Tau and Ork kind kind friends and family are somewhat partial to.


Herein however, lies the catch with wargaming boards:-Too large and you spend all your time in the movement phase.
-Too small and there is no tactics, movement, or strategy (or less of it) inherently required as your into close combat before the first move. Now running Black Templars, this is perfectly fine, as this is where my little zealots excel.


But for the enjoyment of not only the other players, but also the usability of the terrain for more than just Warhammer (primarily larger-scale Dungeons & Dragons modular dungeons or outdoor wilderness miniature terrain), I needed a board with enough space that additional modular features could be added later; buildings, ruins, mountains, forests, rivers, etc.

So this means that essentially, featureless terrain needed to be included, or terrain that would likely be eventually covered by something else. I needed flat sections.
So the trick then was creating a board that could offer some creative usability but also the interest to potentially serve as a basis for future adventures, both Sci-fi and Fantasy based.

Materials:

I work in a creative department and acquire a lot of extra materials made of what, in the industry we refer to as gator board. Essentially thick foam core with heavy-weight paper backing on both sides. Most of these are done for advertising examples, wall art, photos, etc. In this case the piece I am using is roughly 48" x 48" and about 1/2" thick, with a heavy-weight photo paper on one side (a juice advertisement) and a slightly-lighter weight black paper backing, sandwiching the foam core in between.

The smaller example pictured here shows the two varying sides, but any foam core board could work. The key is the thick paper on the bottom side 'supporting' or creating a 'base' for the foam core. This could easily be replicated with even better material, such as cardboard or even wood.


Creating the terrain:

To start creating the terrain features on my larger piece, I used a set of odd tools including an old serrated butter knife (crucial that it be serrated), a Play-Doh putty sculpting tool, and even more odd and tricky to find, a vintage walnut cracking pick. This stainless steel tool is my go-to tool for everything from pushing glue to creating bubbles, and is featured in just about every terrain tutorial I do here on Creative Dungeoneering.

I started with simple pencil markings of a rough area where I wanted 'terrain features' like the  trench, craters, and cracks. The hardest part was resisting too much creativity. Less is more here. Remember, that open space and 'blank surface' area is going to work perfect later for adding additional modular features and using this for multiple types of terrain.

I started by scraping away the paper backing and into the foam using my trusty walnut pick, and then slowly peeling away each piece with the putty tool and knife.

 One one corner, where the crater was at its deepest, it actually compromised the structural integrity of the photo paper beneath.
This required reinforcing the foam and strengthening up this edge corner. One fo the best things I have ever found to do this is standard Shoe Goo putty, for shoe repair.  


Once sealed up, the corner was adequately strong and the essential detail of the board was finished. But resisting adding more was a constant struggle! 

Next was measuring with actual models to ensure that the trenches and craters were adequately sized and would work for game play. 


The trenches were only about base-deep, so they didn't provide "cover" in war-game terms, but enough of a drop that they do create a terrain 'feature' which gang augmented with additional modular items such as rocks, foliage, trees, etc.


Surfacing:

For surfacing, especially for larger flat, or open areas, little works better, and faster, than standard textured spray paint. I somehow feel like I'm cheating when I do this, and it's not cheap, about $10 a can. And this board took an entire can. But it works fast, it works well, and it really looks pretty good when all is finished. 

It is also somewhat durable, textured, and easily accepts accent colors and paint finishes to add additional colors and textures, giving the surface more depth and character. 
The standard stone gray available at most craft and hobby stores is so great, in that it can, like in this application here, be used for both Sci-Fi and Fantasy based terrain and cover creating anything from a cracked alien planet to a forest floor, dungeon cavern base, or even a city scape surface. 


I used the Citadel Skulls pack to add some small individual terrain features that again, could work for just about any terrain or location other than snow or desert.

The small skulls gave the board character and a bit of mystery for war-game play but could just as easily be game hooks or dungeon dressings for fantasy and RPG use too.


I also added hues of purple to the cracks, surfacing, and edges of the holes and trench.

This served the purpose of adding a bit of character to the board and most importantly, matching with all other modular terrain I use in this same style. Again, it's all about versatility and storability.

Because I intend too sue this with fantasy table-top gaming as well, I wanted my current modular terrain to match as seamlessly as possible with the battle board, making this piece even more versatile for sue in both Warhammer and Dungeons & Dragons. I am a huge fan of the Gale Force 9 Caverns of the Underdark set, and they are done primarily in a gray-blue-purple hue.

Adding complementary colors to the Battle Board here will make this a fantastic piece when coupled with those as well, either as additions to Warhammer alien terrain, or for a D&D mega-dungeon-total-party-kill-Drow-battle-royale...