 Ok...maybe not "EVER"...but I LOVED this movie as a kid. And it was old when I saw it.
Island at the Top of the World. 1974 I believe. Adventure/steampunk/victorian explorers meet arctic Vikings and a lost colony.
Not sure why this movie captivated me so much. But it do so to the point that even years later, when I was serving in the US Coast Guard, I could not wait to get stationed up in the Arctic. And I loved every minute of it. Around every desolate mountain and snow capped peak was a Viking colony just waiting to be discovered. The "feeling of being watched" was constant in the arctic mountains, and the way the fog rolled in over the snow and tundra made for a mystical, imaginative land.
Now, in the movie poster artwork, notice the "Killer" Whales chomping at the boats in the lower right corner. In the movie, the mythical graveyard of whales, or "the place where the whales go to die" was a mythical boneyard filled with a Victorian era treasure trove of whale oil and ivory. But it was guarded by the Hunters, Orca's that would attack any that attempted to reach it. This scene depicted here actually never even happened, as the heroes ended up floating away on an iceberg not a boat. and of course if you look to your left, you'll see the Walt disney classical depiction of the "horned helm viking with a medieval era hilted sword" yet in the movie itself, the costuming wasn't nearly as grandiose, and actually followed historical Norse clothing much closer.
but until yesterday, I never contemplated throwing these mythical "Hunters" into game play...
I picked up this toy Orca at a thrift store yesterday for $.50. He was just about the right scale for standard table-top RPG 28mm miniatures.
 He showed a good amount of markings, which actually, if you've ever seen Orca's in the wild, they tend to have a lot of. I think with a bit of work I could make this work to my advantage in increasing the realism here too.

The first step was to cut that fin off. I needed him jumping out and poised for a potential crash down onto either icebergs or a small boat.
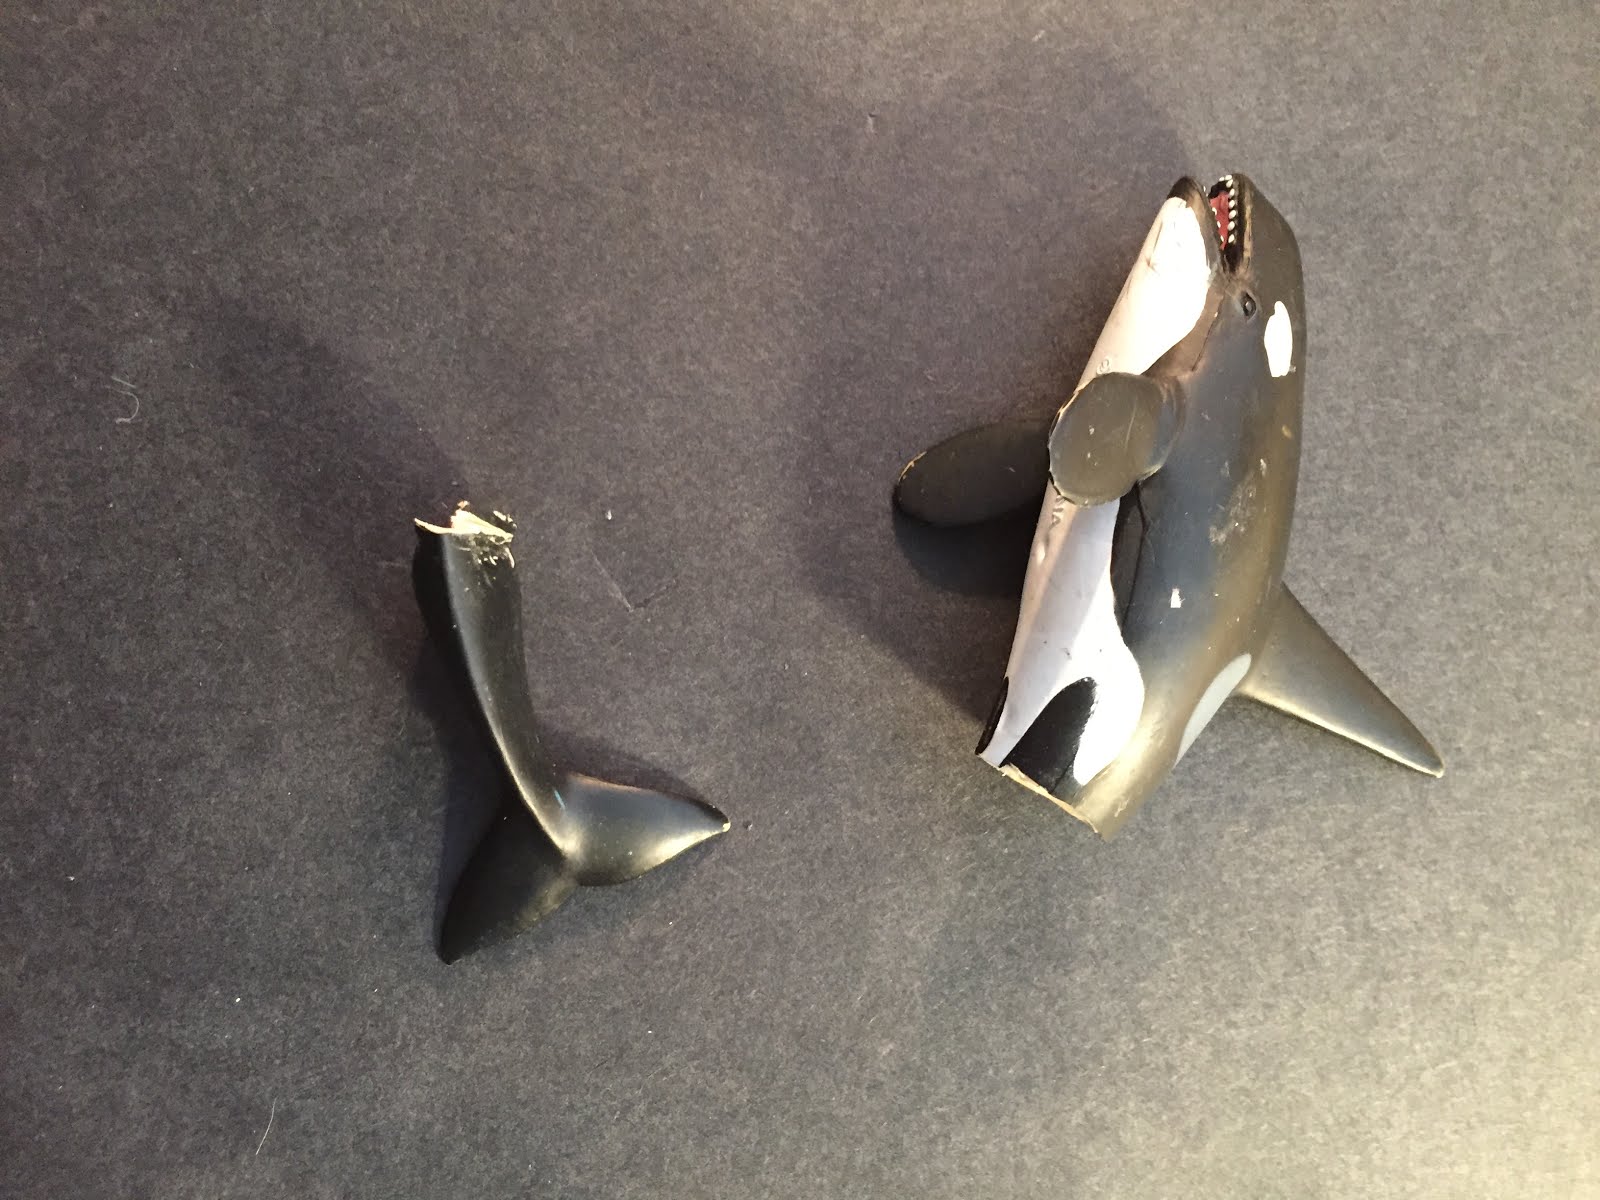
This was actually quite a bit more difficult than one would imagine. Cutting through this thick Sea World Toy rubber was harder than getting their Executives to stop breeding in captivity. Ok, maybe not that hard, but tough. Once I got the rubber cut through, I needed to even out the tail and main body sections to allow even molding with the water base I will be creating.
 Nothing a bit of creative fiddling can't clean up. I found a nice sharp exact knife, albeit one with a large enough handle area to really dig into the rubber worked well enough. The Tail would be used in the same way to imply one Orca rising out if the water in attack, and a second, always just right behind as it descended into the depths again. The next part, and possibly the trickiest, would be to get the right size "water base" for him.
I typically use a thick black foam for most of my Dungeoneering work because I tend to acquire a lot of it. I work in a creative field and we utilize a lot of this material for signage, advertising pieces, etc.
 Often referred to as "Gatorboard" or "foam-core," this thick, heavy, and durable black foam works outstanding for everything from buildings to boulders to bases.
 When it came time to mold the base and model, the heavy weight of the rubber upper body, which makes for a solid, fantastic miniature, was too heavy and too angled as the Orca is rising up and breaching the surface of the water, that heavy weight pieces were used to hold in place.
Two small anvils worked well to allow the model to begin the drying process. The rubber was simply adhered to the foam base with standard black epoxy glue, and allowed to dry overnight. A similar process will take place with the tail.
In Part 2, tail gluing, water surface painting, and texture prep.
No comments:
Post a Comment