The real key to this was not so much recreating the actual quality and construction of the Greencast line itself, as this is amazingly well-made stuff, created from recycled tire rubber, but to create pieces with a similar finish as the other pieces I have in my collection, thus allowign everything to work as a modular system.
Mushroom stacks:
The Mushroom stacks in DAS clay turned out well, but a bit more rough (actually more real!) than their modeled after Wizards of the Coast Dungeons and Dragons counterpart. A greeen-white acrylic mix was added to the stained bases, and a mixed red and white was decorated accross the cap. Both will likely not see much game use, as I still prefer the D&D versions of these, but these will see some great use in the "fairy forests" of "Polly Pocket Land." For any one with daughters, you likely know what that is...

Stalgmite structures:
The stalagmites were simply brushed with a stiff-bristled paintbrush with an acryllic white to give a similar look to the War Torn worlds Rubble Piles that accompany my modular undergound/wilderness scenery set. Once the right "tone" of granite-looking white stone is achieved, they are sprayed with a LIGHT coating of matte sealant spray.
DAS clay tends to relaly saok up sealants, so be careful, otherwise matte sealant can turn a smooth DAS clay surface to glossy finish in no time if over-applied.


Lava Pool-Final touches:
In Part 2 I covered the staining and undercoating of the created stalgmites, mushroom stacks and the lava pool. Like the other structures, the Lava pool was given a black wash with a grey over-tone to give it a natural stone look. Once the grey stone wash is applied, I brushed light white strokes accross the entire structure with a stiff bristled paintbrush. This was to match the "white granite" look of the modular War Torn Worlds terrain I was hoping to match. The entire structure was "stone washed" with the exception of the center inside base of the lava pool.
The center inside base of the lava pool was then covered with a light spackling of mixed reds, yellows and oranges. Brightly splattered in various patterns, and rather haphazardly applied with striking motions and random swirling strokes to drive the acrylic into the surface cracks and dimples along the bottom and inside edges of the pool.
I use older stiff or abused brushes for this to get random uneven textures and strokes. Cheap brushs for this natural finishing work fantastic. I think these brushes were $1.00 US from a nearby dollar discount store. They are fantastic for uneven, rough, and natural looking finishes. I am sure there are better brushes out there that cost as much as a new finished piece of terrain from Games Workshop, but so far, these work excellent.
To finish, I stained the entire piece (except the center inside base of the pool) in a matte spray stain, and allowed to dry. Once done, a light gloss spray is applied to the center pool area only. Don't worry if the gloss stain spaltters onto the inside of the rock walls, that actually will come into play later.


The next task was to apply the "lava."
I hesitate here to describe what I sued to create Lava, because it's the same "wonder" material that I have used to create award winning miniatures such as the Water Wierd, Gelatinous cube (both to be featured at a future time) and terrain water effects...but this blog is 99% solely for my own creative expression and has very few (if any) readers, therefore, I doubt I am loosing much by giving away any form of "secret recipe" here. The magic ingredient that amkes for some of the most wonderful, long lasting, easy to obtain and cost effective structures and creatures is.....
plain, old, hot glue...
Yup. Craft store quality clear hot glue sticks. Nothing special, nothing fancy, nothing expensive. To emphasize again here, sign up for Hobby Lobby email newsletters and get 40% off coupons weekly. I believe Michaels and Joan Fabrics do similar promotions.
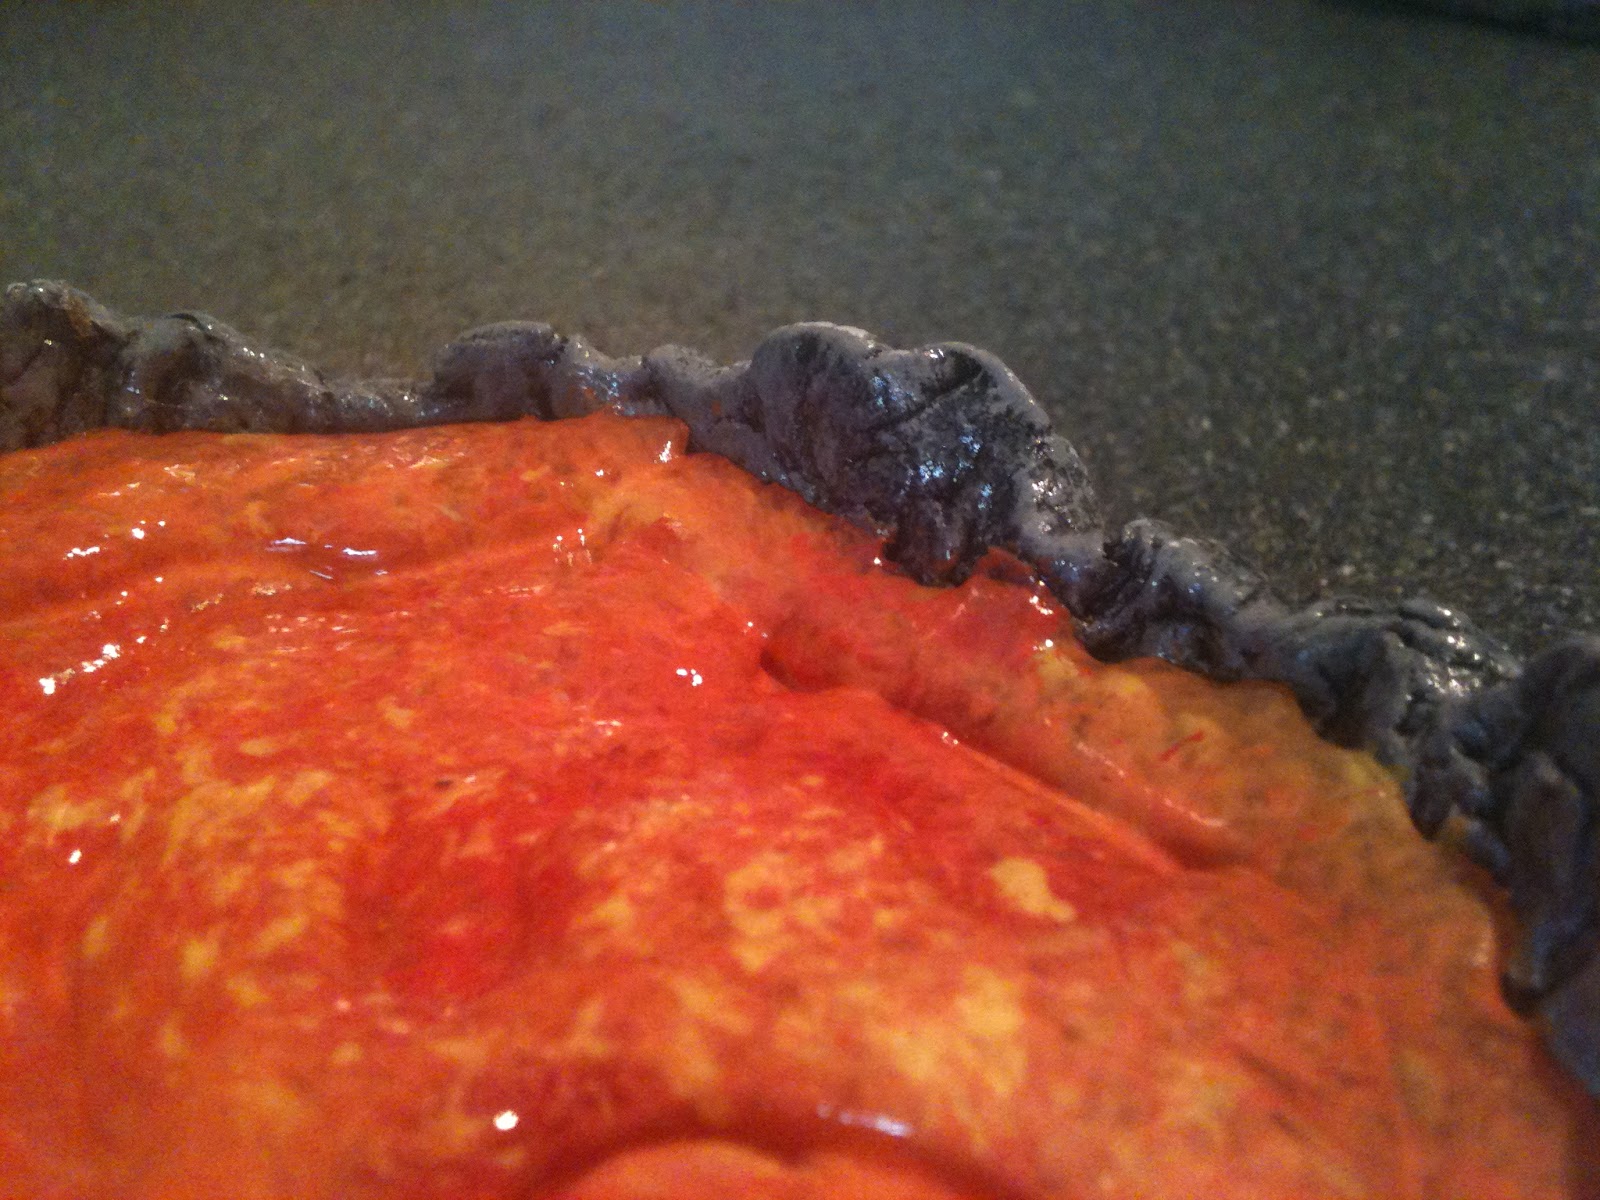
I applied the hot glue in pooling, streaming motions, layer over layer to give the lava depth and swirling patterns. Let it cool and allow it to sit thin enough to have the previously painted "lava colored" sub surface of the pool show through, hence the light orange and red color beneath.
 Notice the light orange and red hues shining through the laid hot glue. bubbles in teh hot glue as it forms only add to the sense of "bubling magma" and they can make for great additions ocne/if paint is applied.
If the hot glue is appled thin enough, no coloring is needed, but I really wanted this pool to "glow" so I applied a layer of "lava" paint over the top of the completely dried and hardened hot glue surface, now a smooth plasticy finish.

When the glue si sufficiently dry, paint is applied in much the same way as the surface of the pool bottom was before laying the hot glue - rough, uneven stabs, strokes, splatters and pools of mixing colors. Let dry, and stain the final while it is still lightly moist, with a gloss spray. the gloss spray will shien ovber the inside upper edges of the rock lip, which is a good thing! This will give a "false glow" to the lava, tricking the eye into making it look like the colorful lava is "glowing" (or in this case, "glossing") against the drab, dark-washed stone edges of the pool.

Notice the glossy sheen to the inside edges of the stone. Some of the fine edge painting was doen with a much smaller brish to get the mixed acrylic yellows, reds, and oranges into those small cracks and crevices.
And here is our stalgmite pieces and lava pool in relation to the other modular War Torn Worlds Greencast pieces, all finished in grey granite stone:

Notice how the final finish of all piueces is so close that intil each piece is touched and felt, they look as if they came from the exact same set. This makes it easy to sue as many or as few pieces from this same terrain setting as needed for each individual wargame or module setting.
All in all a successfull little project that will make a great backdrop for the Deathpriest of Orcus and his two cultists to call forth the Aspect of Orcus from the coming portal, the inhabited corpse sacrifice, and the heroes lurking in the shadows to thwart the evil plot...
No comments:
Post a Comment